XRP Price Central to Ripple’s Strategy, Expert Claims in New Debate
TLDR
- Ripple’s long-term strategy is closely tied to the performance of XRP price, according to industry experts.
- Developer Vincent Van Code emphasized that Ripple’s vision centers on global liquidity powered by the XRP Ledger.
- XRP proponent Digital Asset Investor believes Ripple’s success is inseparable from the eventual appreciation of XRP.
- Ripple’s significant XRP holdings tie its financial health directly to the token’s value.
- Despite some community concerns, Ripple continues to integrate XRP into institutional finance systems.
A fresh debate has ignited within the XRP community over Ripple’s long-term strategy. Developer Vincent Van Code recently argued that Ripple’s primary goal has always been closely tied to the XRP Ledger (XRPL) and its native token, XRP. His comments reignited discussions around whether Ripple’s success is fundamentally tied to the performance of XRP price.
Van Code emphasized that Ripple’s larger vision centers around creating global on-chain liquidity through XRPL. This vision positions XRP as the backbone for large-scale financial transactions, he explained. Ripple’s direction, according to him, has always been about leveraging the power of XRP.
XRP Price as Ripple’s Central Focus
Ripple has consistently maintained that its business model depends on XRP’s value. Digital Asset Investor, a prominent proponent of XRP, reinforced this view. He stated that Ripple’s success is inextricably linked to the eventual rise of XRP price.
While Ripple has avoided publicly commenting on XRP’s price, its financial structure suggests otherwise. Ripple’s holdings of approximately 35 billion XRP in escrow, alongside 5.01 billion XRP readily available, tie its financial health to the token’s performance. At current levels, a $1 increase in XRP price could potentially add $40 billion to Ripple’s balance sheet.
Ripple’s close connection to XRP price is clear. However, the company’s reticence regarding XRP price movements stems partly from ongoing legal issues. Ripple’s ongoing battle with the U.S. Securities and Exchange Commission (SEC) remains unresolved, prompting the firm to refrain from discussing the price of XRP explicitly.
Ripple’s Use of Ethereum for RLUSD
Despite Ripple’s focus on XRP, recent decisions have sparked questions. Ripple issued nearly 90% of its RLUSD stablecoin supply on Ethereum, not the XRP Ledger. Fishy Catfish, a community member, questioned this decision, suggesting Ripple may not believe in the potential of its native blockchain.
CryptoQuant data supports this observation. Only 92.5 million RLUSD are on the XRPL, while the total supply is close to 900 million. This has led some to speculate that Ripple’s actions contradict its stated commitment to XRPL.
In response to these concerns, some argue that Ripple’s vision for XRP is still intact. XRP has long been designed as a bridge asset for cross-border liquidity solutions, a mission Ripple continues to prioritize. Despite the move to Ethereum, many still believe Ripple’s core focus remains on XRP price growth.
Ripple’s efforts to integrate XRP into the financial sector continue. Ongoing partnerships with companies such as GTreasury, Evernorth, and SBI Holdings underscore Ripple’s commitment to utilizing XRP for institutional finance. These partnerships show Ripple’s focus on expanding XRP’s practical use cases in real-world applications.
Ripple is also exploring the creation of a public XRP treasury. This initiative, reportedly aimed at long-term accumulation, mirrors strategies used by other firms to drive value appreciation. Analysts argue that Ripple’s continued focus on XRP price is evident in such moves, even if the company avoids direct mentions of it.
The post XRP Price Central to Ripple’s Strategy, Expert Claims in New Debate appeared first on CoinCentral.


You May Also Like
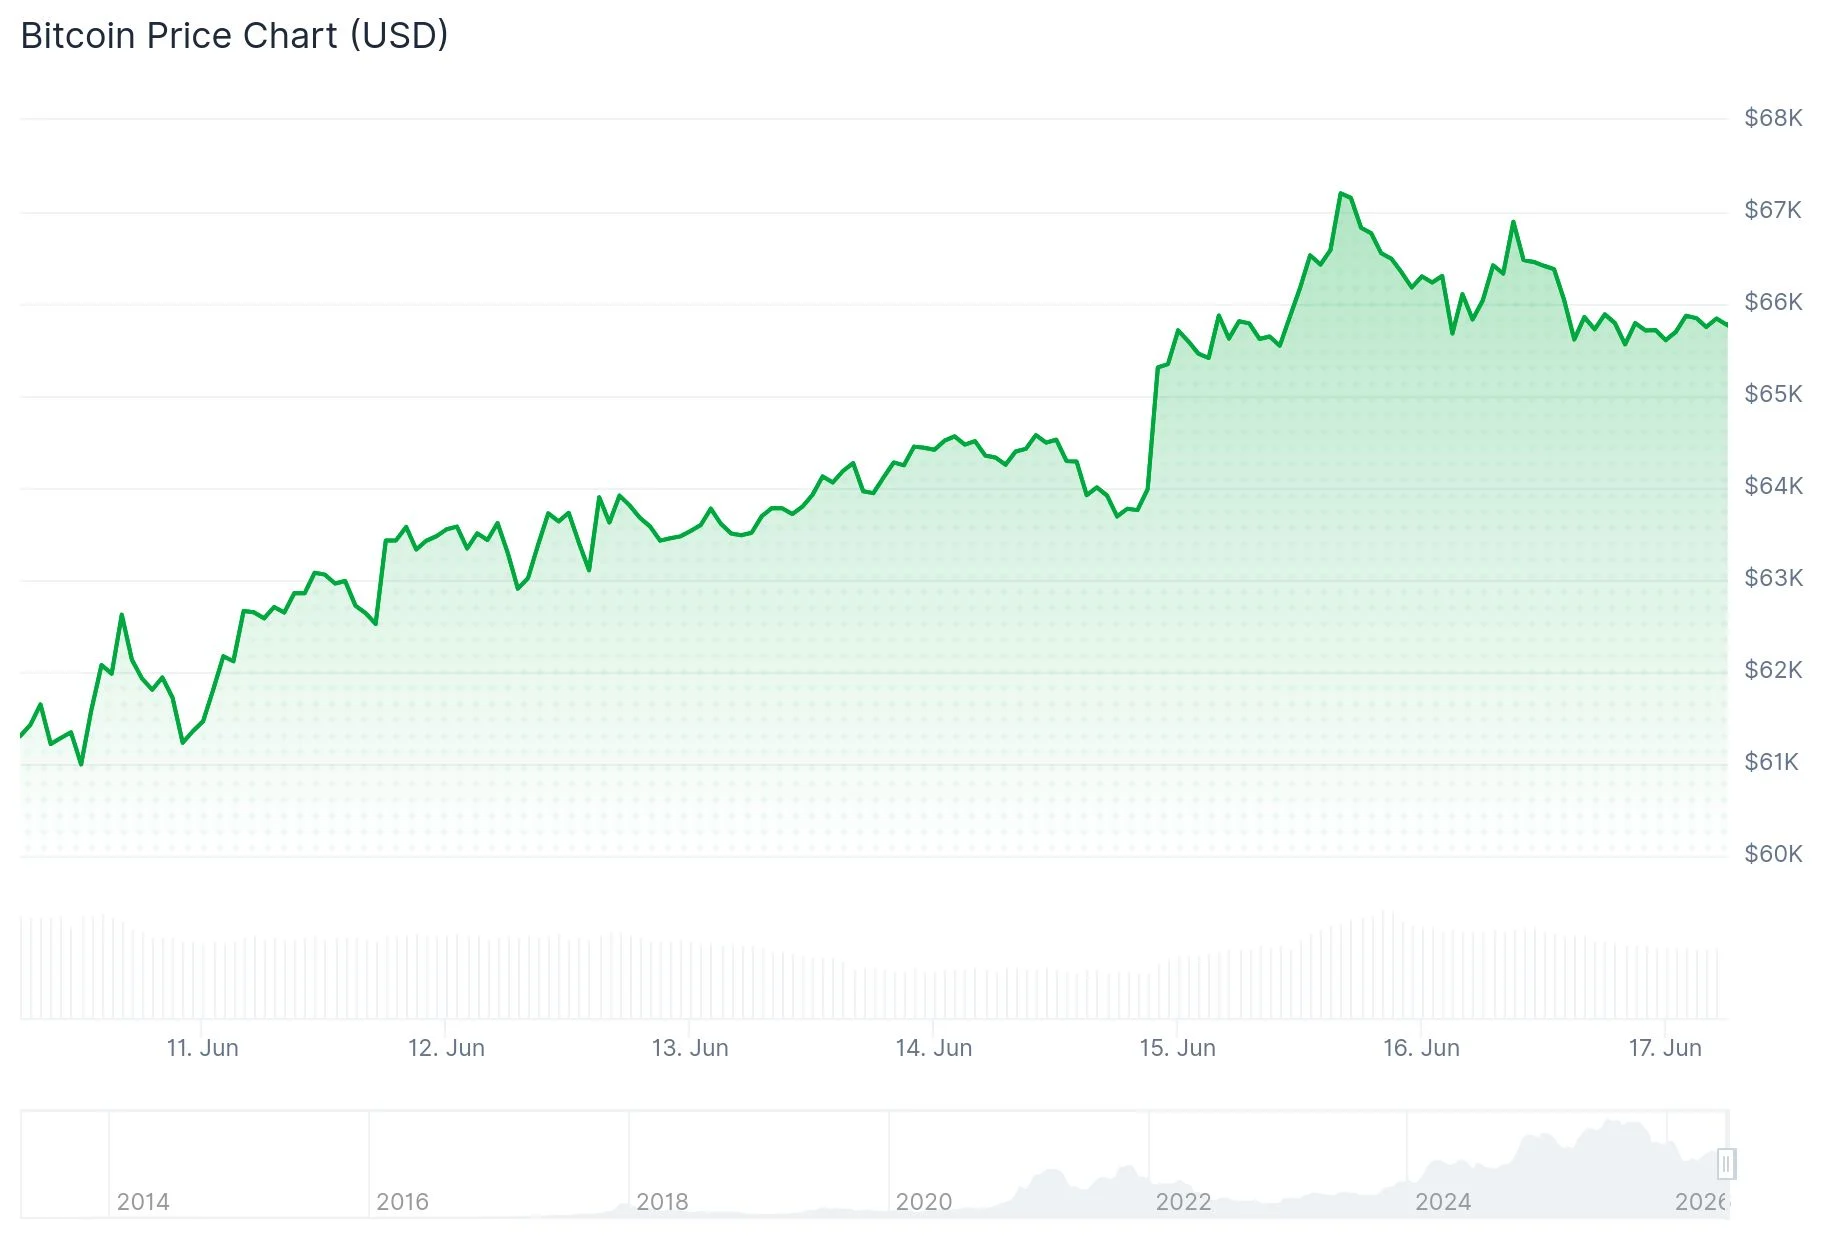
Bitcoin (BTC) Steady at $65K as BlackRock Reveals $9 Trillion Capital Shift Coming

Placeholder Partner Chris Burniske Begins Buying, Calls October a ‘Critical Turning Point’ for Crypto
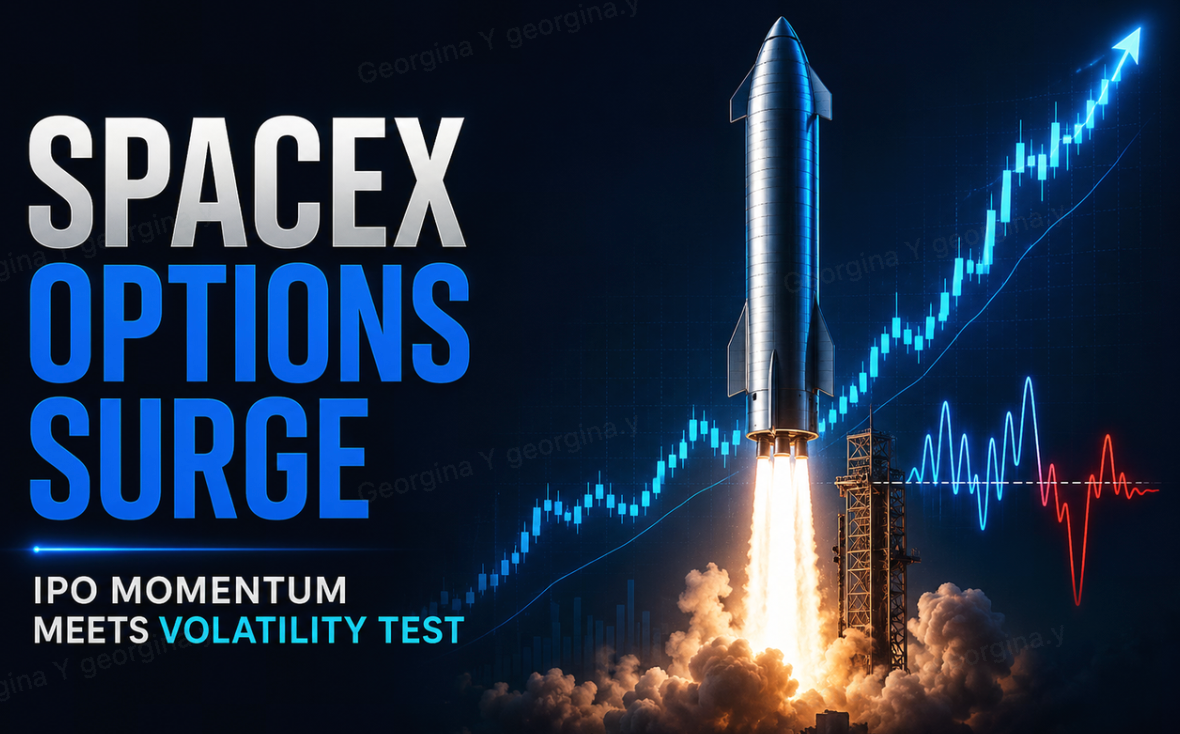
SpaceX Options Surge: Turning IPO Momentum Into a Volatility Test